Papaya Halwa Recipe (Indian Dessert)

Last Sunday – having completed all my blogging tasks for the week – I was wondering what to do for the rest of the afternoon. Since we were already heavily loaded with healthy salads and fish based lunch, preparing some dessert sounded like a good idea. However, all that was left in the fruit basket was a lonely semi-ripe papaya which is something I hate a lot because back home in Kerala we had them aplenty and was part of daily menu in various forms. Anyhow, I decided to experiment with Papaya to make some dessert. The initial, idea was to eat it as raw fruit but then I just remembered seeing something on the TV long ago. Hence without following any specific steps in mind, I started off with my own Papaya Halwa recipe that finally defeated the papaya hater in me.

Papaya Halwa Recipe

Here’s my variant the basic papaya halwa without milk or milk powder.

Ingredients

Semi-ripe Papaya – 1, weighing around 1 Kg

Sugar – 150 grams – You may add more based on your tastebuds

Pure ghee – 3 to 4 tablespoons.
(I used homemade ghee that our maid had prepared a while ago from leftover milk-skin)

Almonds – 20 to 30

Cardamom powder – Quarter teaspoon

Cloves – 3 or 4

I didn’t use cashew nuts which is one of the main ingredients in many Indian halwas mainly because I prefer almonds to that fatty nut. Further no milk, milk powder or condensed milk was used either in this recipe.

Method of preparation

I didn’t manage to shoot a video or use my DSLR, because I didn’t quite know final outcome could be. However, I managed to click some mobile pics and let me add them here – not that they cover all stages of cooking.
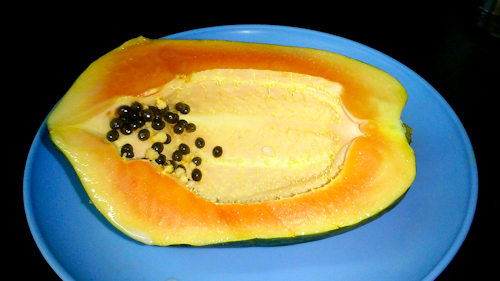
papaya fruit

1. Remove the papaya skin and seeds and chop it into small pieces. You may want to keep wiping the burning papaya milk during the peeling process – That’s what I hate the most about papayas.

2. Heat Ghee in a non-stick pan and add the papaya pieces. Keep stirring in medium flame for about 12-15 minutes. By now, the papaya would have started softening and you can mash it into a nice thick paste while on the stove.
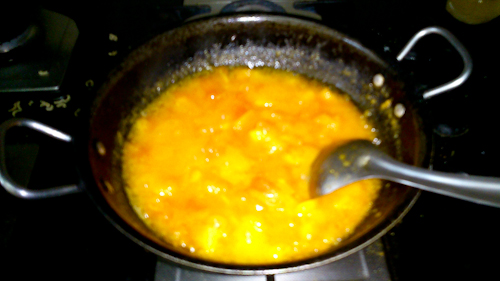
Papaya mashed

3. Leave it for a longer time say for another five to ten minutes on low flame if it’s still watery or juicy. You can add the cloves at this point and stir occasionally.

4. Add 100 to 150 grams of sugar and stir well again for a couple of minutes. You can go for reduced sugar levels based on your taste and how sweet the papaya is. I, for one, like to have very less sugar in my halwa.
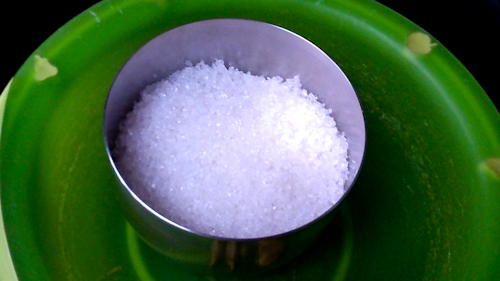
Sugar

5. Add cardamom powder and crushed almonds once you see Ghee formation around the halwa. This is when the halwa clearly move around the pan swiftly as a single ball. That’s when you know that it’s ready!
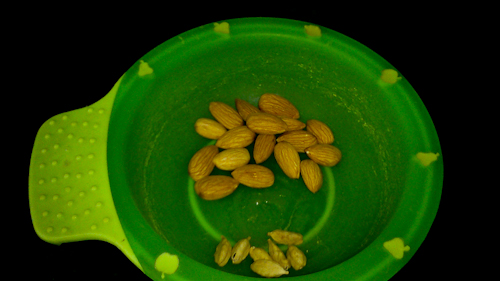
cardamom and almonds

Tip: Just in case you feel that your halwa’s consistency is going to be thin, you may sprinkle a spoon of fine rice floor during step 4. It’s not a crime to do so and the rice flour is a healthier option than Maida or corn flour.

Another tip: Once it’s done and the pan is still very hot, you may tilt the pan and remove excess ghee from it right away using a teaspoon. I managed remove half of the ghee that I added in this fashion because I just hate oil dripping halwas and similar desserts.
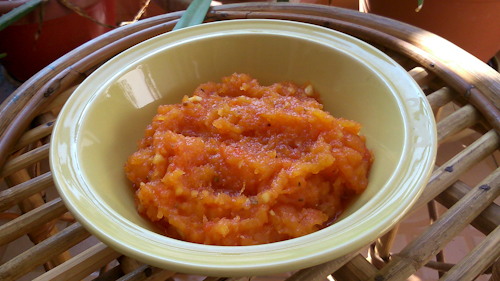
papaya halwa recipe

That’s my papaya halwa recipe which is rather lean compared to majority of halwa varieties because we didn’t add a lot of sugar, milk or other fatty stuff. It tastes fantastic and doesn’t taste as boring as raw papaya.

I am a Papaya lover again!

How to make Kerala Porotta? (Video Recipe)

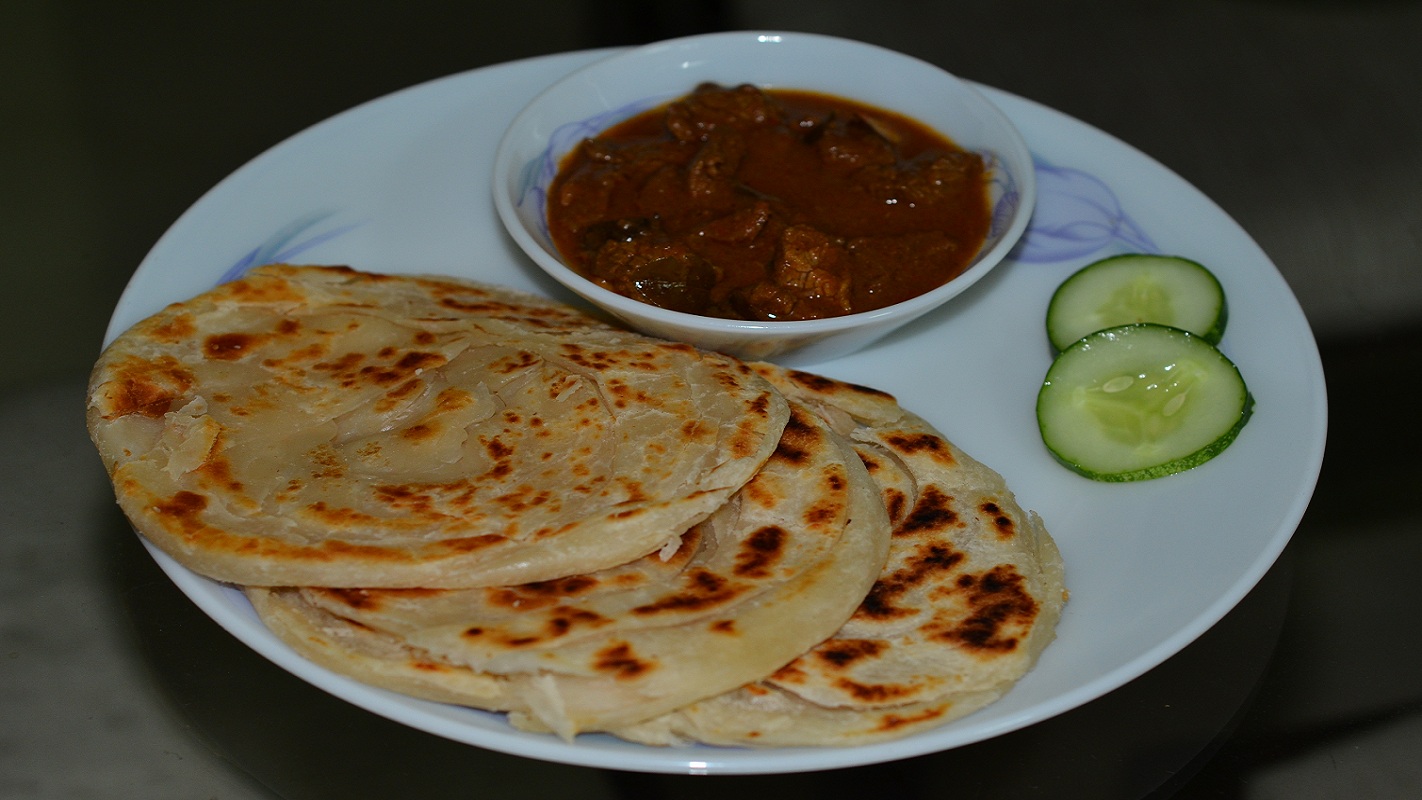
I had some tough luck with my previous attempts of mastering the art of making Kerala Porotta’s at home. But not any longer! This time the experience was better and my porottas turned out to be really good and delicious. (Well, it could be still better…)

So here’s how you go about making Kerala Porottas or Malabar Porottas (Alternatively you could directly jump into our Kerala Porotta making Video)

kerala porotta

Ingredients (to make 8-12 porottas)

Maida (All purpose flour): 500gms

Salt: ½ to ¾ tsp

Sunflower oil or your favorite Vegetable oil: About 100ml

Egg: 1 (Beaten)

Baking soda: ½ tsp (if you like more leavening, I avoid this)

Warm water: As required

Some people like with a tinge of sweetness and in that case you may add a teaspoon of sugar as well. I personally do not do this

Method of Preparation

The complete step-by-step instruction to make Kerala Porotta is available in the following video that I recorded recently.

However, if you want a written recipe, here is how you go about making Kerala Porottas.

Step 1: Take half a kilo maida in a wide mouth bowl and make a well in the centre. Add half (or as per taste) a teaspoon salt, about three tablespoons of oil, one beaten egg to this and mix well. Add warm water and mix thoroughly and evenly for about 4-5 minutes to make a soft and rubbery ball of dough. You may keep adding more water and oil during this process.

Step 2: Apply some oil on this dough ball and keep it covered with a wet cotton cloth for about 60 minutes.

Step 3: After an hour, split the big ball of maida dough into smaller sized (about the size of a very small orange) dough balls and keep them aside. Half a kilo of maida will usually make about 10 such dough balls. Apply some more oil on them and keep them covered with the wet cloth again for about 10 minutes.

Step 4: Now for the difficult part. Take each of these dough balls, flatten on your clean kitchen counter and lift and beat them on the counter as demonstrated in the video. You have to lift (not so high) the flat dough with your left hand, beat on the counter while supporting from the top with the right hand. Do this till the dough becomes a flat long dough mat. This process needs some expertise, in fact, I am still mastering it. If you can’t get it completely flat and thin, help with your hand to spread it further.

(The above process is what earned Kerala porotta the name ‘Veeshu porotta’ because it’s just like you are using a paper fan)

Step 5: Now, lift from one of the broader sides of this dough towel and fold it towards the other side to make pleats (refer to the video) to make a long pleated length of dough. Further, this length has to be coiled into a dough spiral and tuck in the the other end nicely down. That’s it and we have to repeat (Step 4 and what we just did for all other dough balls)

Step 6: Now, it’s time to toast the porottas. Heat a tawa or skillet and pour about one teaspoon of oil in it. Reduce the flame into medium to low. Flatten the dough spirals on the counter with bare hands to make it to a 5-6” diameter porotta. Place this in the tawa and you have to toast it for about 3-4 minutes occasionally (every 30 seconds) flipping it. It’s better to use a large tawa that can accommodate 4-5 porottas.

Step 7: The last step is the fluffing up process. When 4-5 porottas are ready from the tawa (and when they are still hot), stack them up on the counter and tap them firmly using your palms from the sides (refer to video). This fluffs up the porotta layers making them soft and nice. And that’s what make them quite unique from other types of rotis or parothas in India.

That is it! Delicious Kerala porottas are ready!!

Kerala Porottas are best enjoyed with protein rich spicy curries such as Kerala style beef curry (non beef eaters, please excuse), Chicken or Mutton curry, Egg masala or even Green peas masala. One of the hot favorites in Kerala road side shops (thattukadas) is beef fry or beef chilli with Kerala porottas.

Health tips

Kerala porotta is not exactly a good habitual food, health-wise. Since it is made of white flour and drinks a lot of oil, it’s bad on your intestines. White flour tend to increase your bad cholesterol (LDL) levels as well. I recommend that you eat a lot of onion salad (Sliced onions rubbed with salt and vinegar) along with porottas and beef to help with your health. Also, make it a habit to drink a lot of hot water after eating porottas to help with the digestion process and ease stickiness.

Please note that your favorite roadside shops may be using Dalda (Vanaspati or Margarine) for making Kerala porottas. Though this is tastier, it’s extremely harmful for health

…and let me know how your Kerala porotta making experiment turned out to be.

Make Your Own Orange Liqueur At Home – Recipe

To make those perfect Margaritas you need very good quality Orange Liqueurs such as Cointreau. Unfortunately, a bottle of Cointreau costs around Rs.3000/- in India which is really atrocious. During our last outing with friends, we had some amazing stock of Tequila but no Cointreau ( and the outcome was cocktails with fruit juices alone that spoiled good grade Tequila)

That’s when I decided to make my own Orange liqueur at home. I found a lot of recipes for homemade orange liqueur or triple sec and after a couple of trials with them, this Indianised version was derived.

Orange Liqueur Recipe

Here’s how you make orange liqueur at home for less than Rs. 300/- for a bottle.

What you need?

  1. A glass jar with a tight lid (I got the one in picture for just Rs.70/- from SPAR)
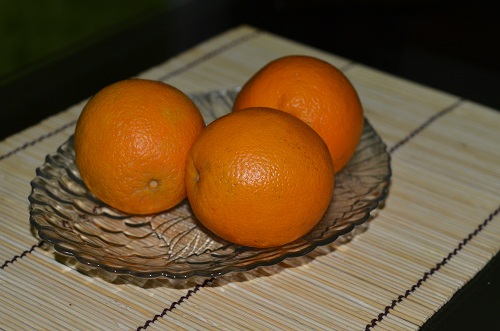
  2. Two or three Navel Oranges
  3. Cloves – 2
  4. A quarter bottle of Vodka (Smirnoff) – 180ml
  5. A quarter bottle of Brandy (Mansion House works well) – 180ml
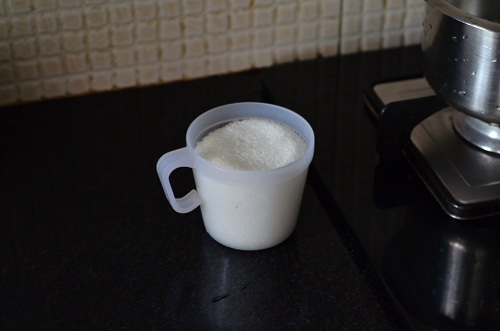
  6. Sugar – 1½ cups
  7. Water – 1¼ cup (300ml)

Preparation

Warning: The whole process takes very less effort but the wait is about 24 days. But I got to tell you that the stuff is worth the wait.

Day 1

navel oranges
Wash the oranges very well in lukewarm water (rub well while doing so) to de-wax them. If you are abroad you can use veggie wash. It is very important to wash oranges thoroughly since you are going to use the zest of oranges in this recipe. Wipe them thoroughly with a clean towel and let the remaining moisture dry off naturally for the next 20 or 30 minutes.

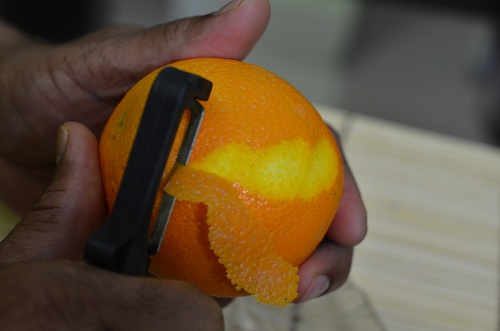
Orange zesting

Next, you have to remove the zest from the orange by using a vegetable peeler, zester or grater. I used a vegetable peeler though I had a zester. Basically, you need to take care of NOT including the white part of the peel which may make the liqueur very bitter at the end.

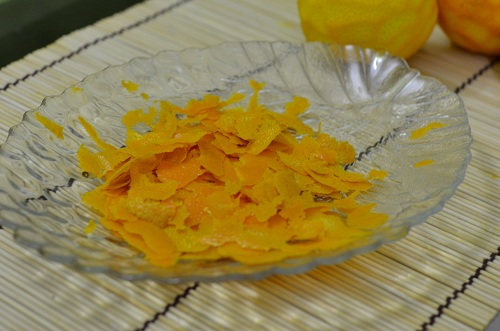
orange zest

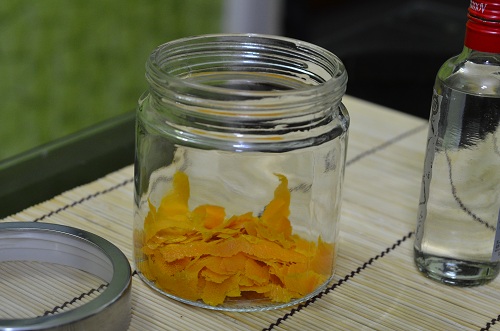
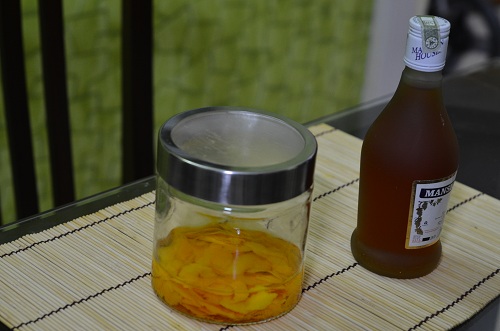
Next throw the zest into the clean (and dry) glass jar and pour the vodka into it followed by the brandy. Close the jar tight and shake lightly so that the zest is all immersed well in the spirit.

(By the way, I used Romanov brand of cheap Vodka this time though Smirnoff is better. You don’t need to go for other expensive brands as the orange zest will anyhow change the spirit’s taste)

Orange zest in glass jar

orange zest in vodka

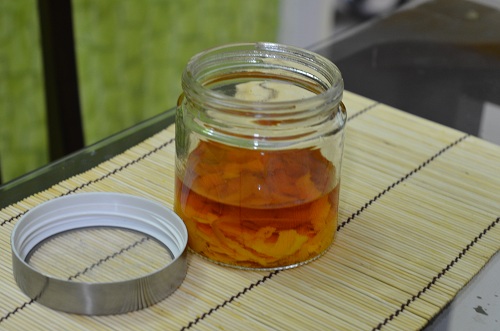
For the next three weeks you have to store it in a dark place taking it every other day and gently shaking to help the orange zest flavor mix in the spirit well.

Brandy, Vodka, Orange Zest

After 3 weeks (22nd day)

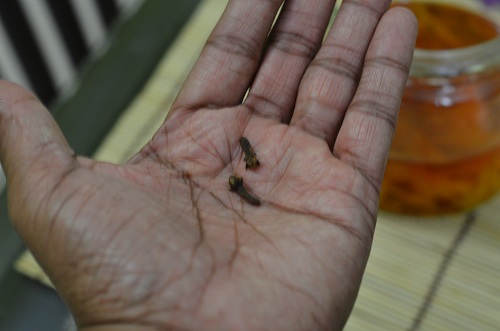
Add a couple of cloves into the jar and keep it back in the dark place for another day.

cloves

23rd day

Filter the jar content well and pour it into an empty spirit bottle (e.g. An empty brandy or whiskey full bottle but NOT washed). The best way to filter is to first filter it via a clean and dry strainer and further via a coffee filter paper. If you don’t get (i.e. Indian context), you may even use a couple of tea bags (with tea emptied) and placed in the strainer to filter the content very well without any remains of zest whatsoever.

sugar

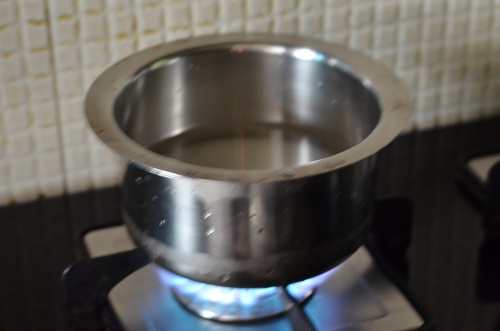
Next, we have to make sugar syrup. In a clean pan pour water and add the sugar. Bring it to a boil while stirring occasionally. Let it boil for about 3-4 minutes and then allow it to cool naturally.

make sugar syrup

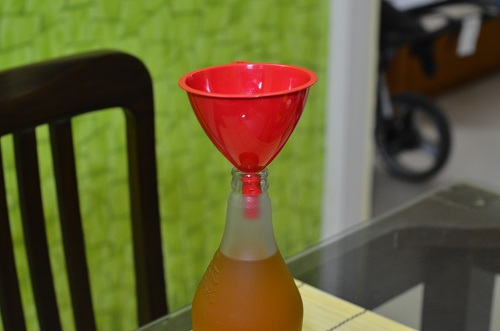
Using a funnel add this syrup into the spirit bottle, close the bottle and shake well.

Sugar syrup and orange zest extract in spirit mixed

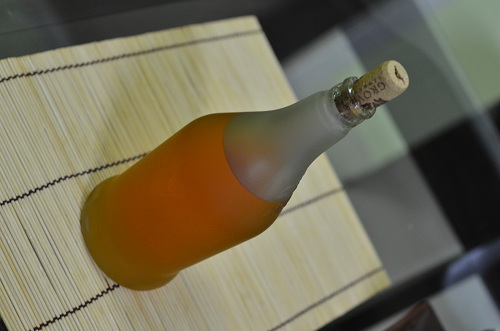
Your Orange Liqueur is almost ready. You have to let it rest for a day before you can use it. This liqueur has a shelf life of at least three to four months and you don’t need to refrigerate it (As per many recipe sites. By the way, I am yet to verify the shelf life)

Our orange liqueur

The color of the liqueur will be golden orange provided you use clear sugar (brands such as Parry’s).

Day 24

Let’s party! This liqueur prepared at home is extremely good to mix the classic 3-2-1 Margarita. The alcohol strength will be around 25% and 600 ml liqueur prepared using this recipe should be good enough for mixing around 20 Margaritas. Not bad huh? I in fact, mixed a good one tonight with a cheap brand Tequila, still it was heavenly.

Cheers! And let me know how your experiment went. In fact, it is very very easy to make this orange liqueur at home though my explanation probably made it sound like rocket science. By the way, there are other easier recipes as well.

KFC Krushers based Cocktails

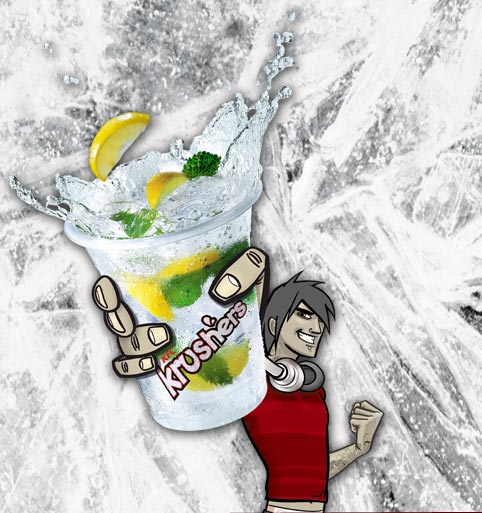
KFC India recently launched some refreshing and sparkling variants of KC Krushers (known as KFC Sparklers abroad) for the summer. I have been experimenting with KFC Krushers to make some cocktails and found two of their variants extremely good for making instant cocktails.

KFC Krushers Cocktails
KFC Krushers (Image Courtesy: Kfc.co.in)

The Kentucky Fried Chicken Krushers variants that are good for making cocktails are:

  • Vanilla Blue
  • Virgin Mojito

Both of them are available at Rs.49/- in India which means that you have the possibility to make some refreshing cocktails under Rs. 100/-

So what are the cocktails that you can mix with these summer drinks?

Blue Lagoon

Well, the original Blue Lagoon contains Curacao but our instant KFC Blue Lagoon can live without that.

Method of Preparation: Mix 60 to 75 ml of Smirnoff or fine Vodka with KFC Vanilla Blue sparklers and there you go!

Mojito

This is no brainer! Add 60 ml of Bacardi or any good white Rum to KFC Virgin Mojito Krushers. Stir well and top with some crushed ice. Your KFC Mojito Cocktail is ready.

Since the Virgin Mojito from KFC already contains enough fresh mint leaves and lime wedges, you don’t need to add anything else.

How’s that?

Try them and let me know your feedback. And don’t hesitate to come up with your KFC Krushers cocktail variants and share as comments here.

Enjoy the summer!

Ultimate Summer Drink – Watermelon Chilli Punch!

Well, I have been experimenting with watermelon based drinks – both alcoholic and mocktails – since the summer began. Here is an absolutely refreshing watermelon drink for you!

I am not sure if anything like this exists, but I just called it Watermelon Chilli Punch!

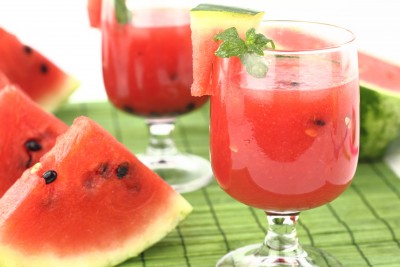
watermelon chilli punch

Ingredients (To serve Two)

Watermelon – 1/2

Lime – 2

Salt – 1/8th Teaspoon

Sugar – 3 Tablespoons (or as necessary)

Green chilli – 1/8th of a long chilli (Max 1/2 inch long)

Ice cubes – Two cups

Drinking water – 1/2 cup

Method of Preparation

In a blender add salt, sugar, lime juice from the two limes and green chilli. Cut half of a watermelon into cubes and add the same to the blender. Add water and Ice cubes and blend well for 10 to 15 seconds.

Pour into your favorite cocktail glass (typically highball) and enjoy!

As we all know, watermelons are excellent for hydrating your body in summer. What you probably don’t know about watermelon is the secret in its seeds. Watermelon seeds contain zinc and selenium which is said to be good to fight even cancer. And the seeds have powerful anti-oxidants to maintain a healthy heart. With a lot of lime juice added, our drink is enriched with Vitamin C and other essentials. Then the sugar provides much needed glucose and salt essential minerals in summer! Finally, to make it real Indian stuff, we have the chilli punch added!

Experiment with it or its variations and let me know how did you find it.

And never throw away the seeds. Blend them with your juice and to make things better, pick those watermelons with not so blackish and hard seeds.

Enjoy the Indian summer!

Chicken Grill in OTG – Indian Style Chicken Grilled

Grilling lip smacking chicken in the Oven (OTG) is not all that difficult. Here’s how I do the Indian style Chicken Grill in OTG using the rotisserie setting in the electric oven. For your records, I use a Bajaj Majesty 3400TMC OTG that I purchased for Rs. 5500/- some five years back and it still works like a charm.

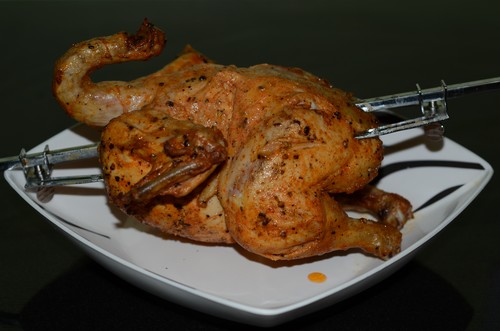
Oven grilled chicken

Ingredients

Whole chicken (without skin, guts): 1 Kg
(Live chicken weighing 1.5Kg will get you 1Kg meat after cleaning)

Salt: 1.5 teaspoon

Crushed pepper: 1.5 teaspoon

Chili Powder: 1 tablespoon

Garam Masala: 1 teaspoon

Ginger-Garlic Paste: 1 teaspoon

Lime Juice: 2 tablespoon

Yoghurt (Curd): 2 tablespoon

Sunflower Oil: 1 tablespoon

Melt Butter: 3-4 tablespoon

Method of Preparation

Clean the chicken well and drain off any water. Using a sharp knife make a few parallel shallow cuts or grooves on the fleshy parts of the chicken (i.e. on thighs, leg, front rib etc).

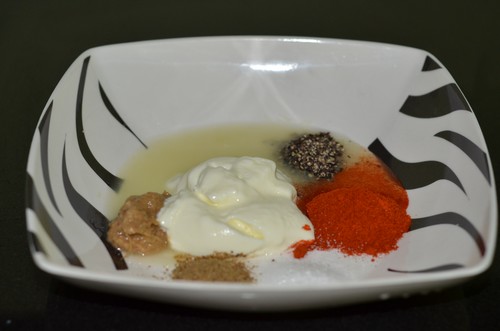
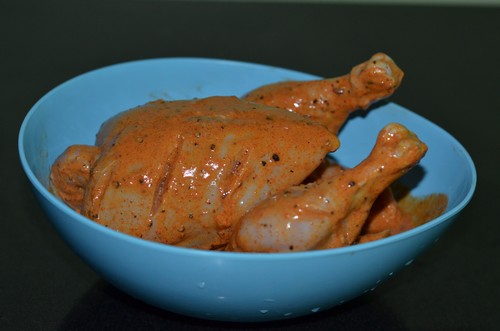
Mix all ingredients except butter together and apply well on the chicken inside and outside. Keep it marinated in the fridge overnight. Yes, a minimum of 12 hours is needed for all that flavors to get in and the chicken become really tender.

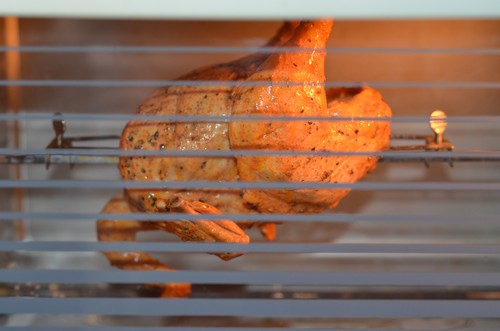
Preheat the oven to 250 degrees. Skew the chicken on to the rotisserie, tighten the clamps and grill it at 200 degrees for about 20-25 minutes. Keep applying butter on the chicken every five minutes. You can see the butter as well as any remaining fat on the chicken getting melt and dripping down there by making this preparation a highly healthy chicken grill variation. Unlike Tandoori chicken or other barbeque recipes, there’s no harmful carbon content in this preparation.

Once done well, enjoy your Indian style grilled chicken with your favorite drink, salads and carbs.

(Note: At the end of 25 minutes, if it is still not done, you may want to keep for another five minutes at 200-225 degrees. To check if it’s done well, create a deep cut in the fleshiest part and verify that it’s not pink near the bones)

In Pictures

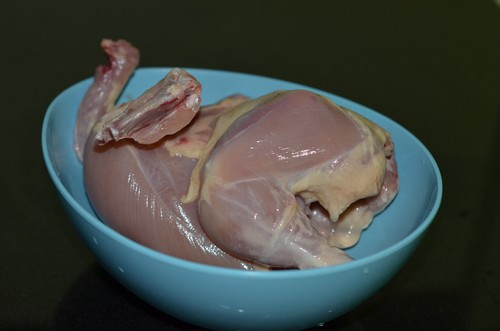
whole chicken without skin

spices for chicken grill marinade

marinated chicken

chicken grill in OTG oven

Oven grilled chicken

Try out this super delicious and tender grilled chicken yourself and let me know how your variant turned out to be.